
Preamble
I tested the procedures, I show in this tutorial, with these Linux-versions:
- openSUSE Leap 42.3
- openSUSE Tumbleweed
- Kubuntu 18.04 LTS
Using other Linux-distibutions, the way to go for compiling MLV-App should be similar. But the details will be different (Another paket-manager, other repositorys, other filenames…)
I didn´t test other Linux-distributions, so you will have to find the correct way yourself…
Introduction
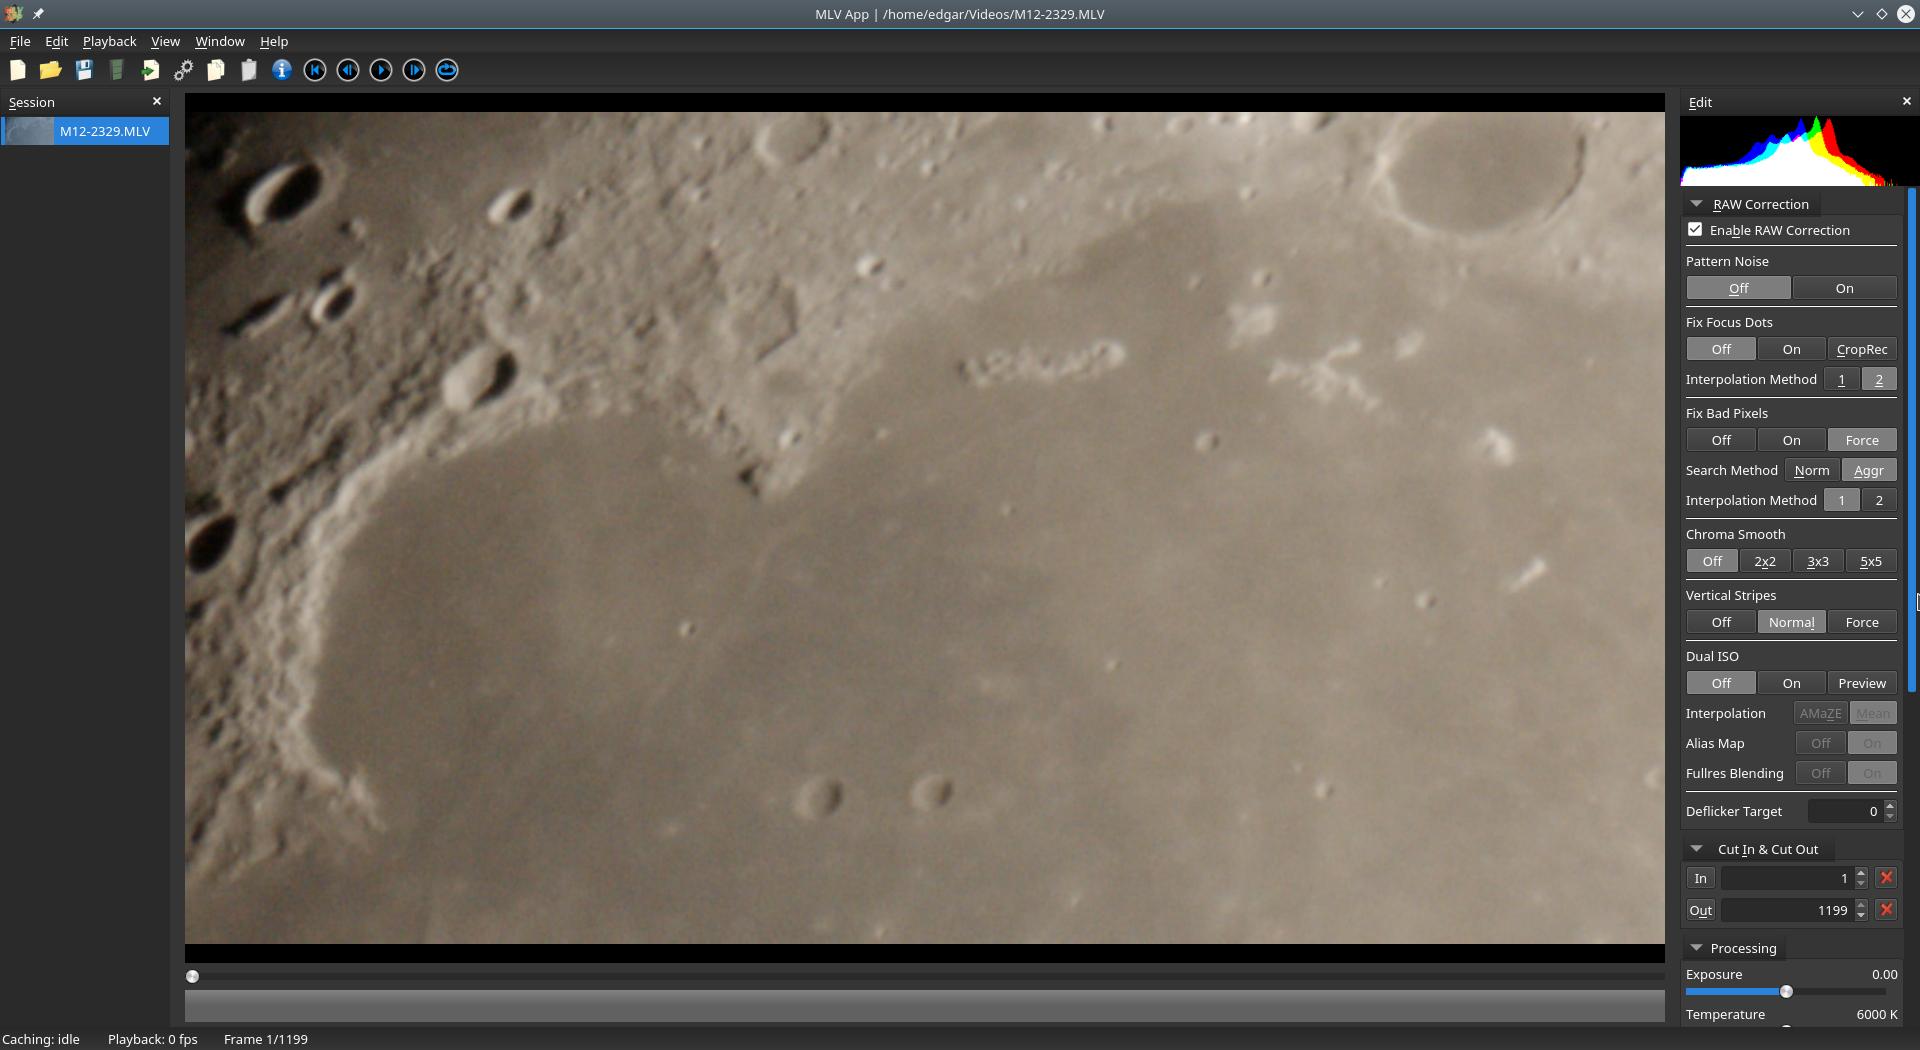
MLV App is a tool to decode, playback, process and export MLV raw-videos (Magic Lantern). At the moment, MLV-App support these export-formats and maybe some more:
- prores
- rawavi (needed for my astronomy-stuff)
- h264
- h265
- cdng
- tiff
- png (actual preview frame)
- MLV (without audio)
- DNxHD
- DNxHR
I have Windows or MacOS. Can I use MLV-App?
MLV.App can be downloaded from here:
https://github.com/ilia3101/MLV-App
In tht section „Releases“, you can find executabele bin-files for MacOS and Windows.
MLV-App is self-explaining. So you don´t need a manual. If there are questions, they can be discussed here:
http://www.magiclantern.fm/forum/index.php?topic=20025.0
But I have Linux! What can I do?
Quite simple. Look under Releases. There is an appimage for Linux.
Or, if you want to compile it yourself, do it!
Intermezzo
Compiling! Compiling myself???
I can hear your heart beating until here. And if I watch you narrowly: Is there cold sweat dripping off your forehead?
But don´t worry! Compiling is not as difficult as it looks like 🙂 And I´ll help you.
So, let´s go….
The way to go for Linux
- install developing tools
- download the sourcecode of MLV-App
- compile MLV-App
- ready
Developing tools
In Order to compile an application like MLV-App, you will habe to install a bunch of stuff first. You have to prepare your system to be able to compile something.
But don´t fear. It´s not necessary to know all these tools, because the is an application, which bring all this stuff with it: QT-Creator
Maybe, it looks a bit overdressed, to install such a powerful application like QT-Creator only for beeing able to compile a little bit. But this is a very easy way. Installing QT-Creator reduces the preparation to some little steps:
openSUSE Tumbleweed
- Open a package manager (Yast – Software manager)
- install: qt5-creator
- install: libqt5-qtmultimedia-devel
- install: git
openSUSE Leap
- Open a package manager (Yast – Software manager)
- install: libqt5-creator
- install: libqt5-qtmultimedia-devel
- install: git
Kubuntu
- Open a package manager (Muon)
- linstall: qtcreator
- install: qtmultimedia5-dev
- install: git
The working directory
I recommand to create a working directory for compiling MLV-App. A good name for this dir would be: mlvapp-project
Since we will use the commandline now, I show you how to create such a directory, using this commandline:
Open a terminal (console) and type:
mkdir mlvapp-project
That´s all. Now, we can find a subdirectory, called mlvapp-project, in our home-dir. That´s our working-folder.
The sourcecode
There are some ways to download the sourcdcode of MLV-App. I prefer the way to clone the repo to my harddisc using git
I want this clone beeing located in the working directory, we have created some minutes ago. So I have to change into this working-directory using cd. Than I can clone it with git clone:
Open a terminal an type:
cd mlvapp-project
git clone https://github.com/ilia3101/MLV-App.git MLV-App-master
It´s like a miracle. Now we can find a folder called MLV-App-master in the working-directory.
Compile MLV-App
That went fast till now. So let´s go on.
We open a terminal, change into MLV-App-master/platform/q (cd), prepare the compilation (qmake (qmake-qt5)), compile (make) and install a desktp-file (make install)
openSUSE
cd $HOME/mlvapp-project/MLV-App-master/platform/qt
qmake-qt5
make
make install
Kubuntu
cd $HOME/mlvapp-project/MLV-App-master/platform/qt
qmake
make
make install
Ready!
Btw.: $HOME is the same as /home/your_username
Intermezzo
I don´t know the frequency, your heart is beating now. And I don´t know, how many handkerchiefs, soaked with your sweat, you used till now. I think, I can see a puddle on your desk…
Oh, compiling. Dear god, let it be finished as soon as possible…
It´s over now
My friends, you can lean back and open a nice little bottle of bear. The compiling is finished, faster as you beleaved before.
You only need to restart your computer to get a nice little icon for MLV-App.
Application menue
Now you can find in the application menue under multimedia (audiovideo) the new compiled MLV-App.
Some interna
Desktop-file
I just told you, that you can find MLV-App in your application menu now. That´s not quite correct. What you can find in the application menu, is a launcher for MLV-App.
Such a laucher is called desktop-file.
We created this desktop-file for MLV-App after compiling with make install. Now you can find this in your file-system:
- desktop-file: $HOME/.local/share/applications/mlvapp.desktop
- icon: $HOME/.local/share/icons/hicolor/512×512/apps/MLVAPP.png
- bin-file: $HOME/mlvapp
Such a desktop-file is a little text-file, containing all necessary for launching an application:
- commandline command for launching mlvapp: mlvapp
- name of the icon-file: MLVAPP
- category in the application menue: AudioVideo (Multimedia)
- and some more
You can copy the desktop-file onto your desktop, if you want…
ffmpeg
MLV-App needs ffmpeg for converting MLV-files. MLV-App ships a static version of ffmpeg with its sourcecode. After preparing the compilation (qmake), ffmpeg will automatically by unpacked into $HOME/bin.
It´s not that unlikely, that we have another version of ffmpeg in our system (maybe as dependency of another multimedia-installation, we did sometime). This version of ffmpeg is commonly be located in /usr/bin.
Fine! But how does the computer now know, which version of ffmpeg he shall use for MLV-App?
$PATH
MLV-App calls ffmpeg internally with the command ffmpeg (without a leading path). That´s where the envirement-variable $PATH comes into the game.
$PATH contains the directories, where the computer is searching for an application, if this application was started without a leading path. The content of $PATH will be searched from left to right. The first ffmpeg found will be used.
Let´s look at this a bit closer. The content of $PATH could look like this:
echo $PATH
/home/dein_username/bin:/usr/local/bin:/usr/bin:/bin:/usr/lib/mit/sbin
At the very left, there is our $HOME/bin (that with the MLV-APP-ffmpeg). More at the right side we see /usr/bin (that with the openSUSE-ffmpeg).
$PATH will be searched from left to right. So our MLV-App-ffmpeg will be found first and used. That´s all, what we wanted.
It can be possible, that $HOME/bin is to wide at the right side or doesn´t exist at all. In this case, we have to change the content of $PATH manually. There are many guides in the web, how to do this.
